Image
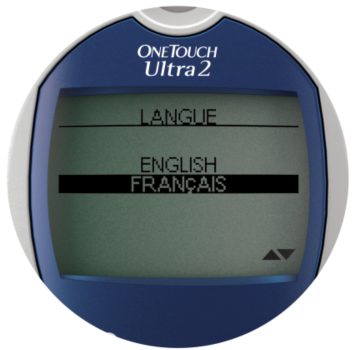
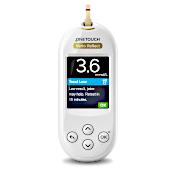
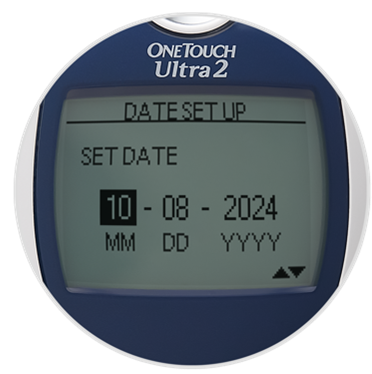
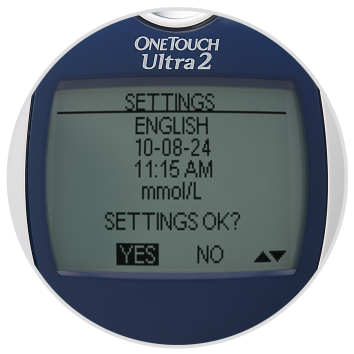
Setting your date and time will help you accurately track all of your readings.
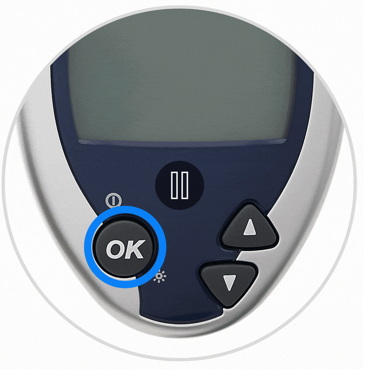
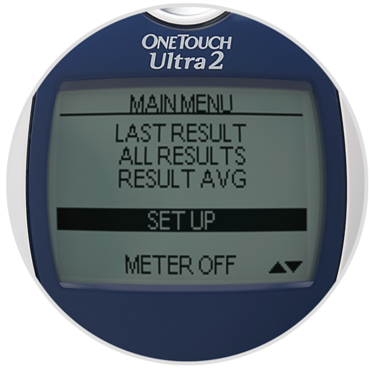
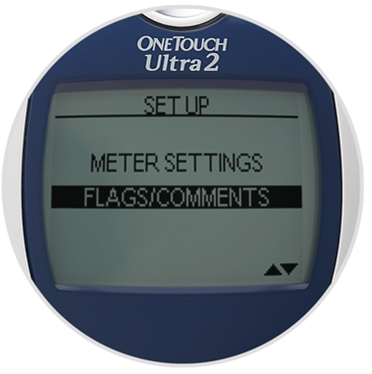
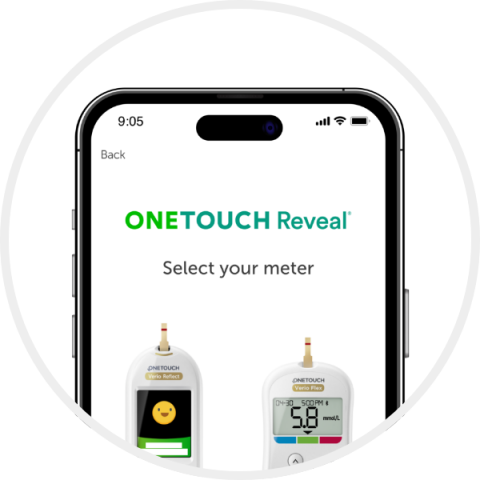
Follow the steps below to see how to set up your meter.
Want more details? Refer to the Owner’s Booklet that came with your meter or click to read here.
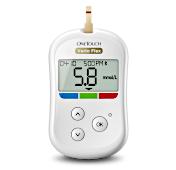
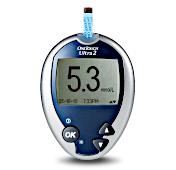
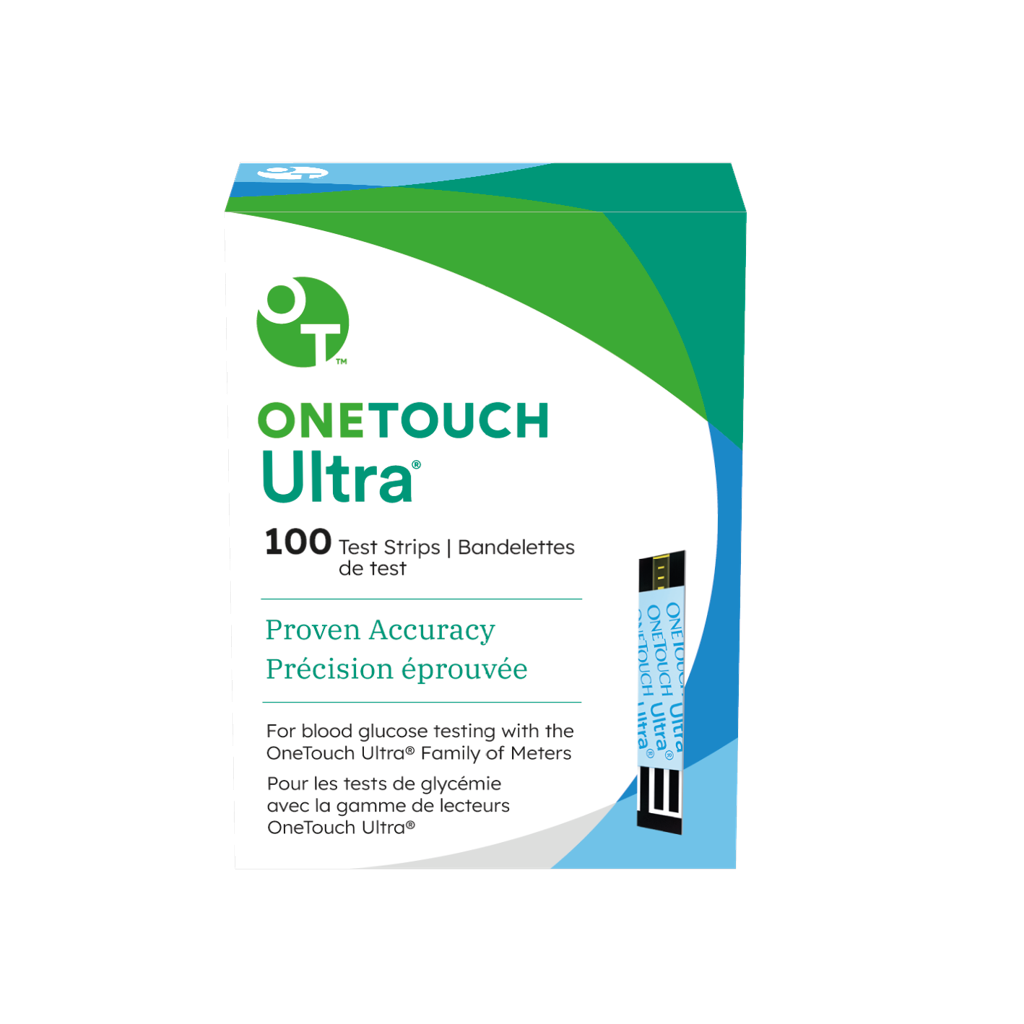
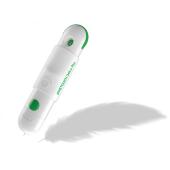
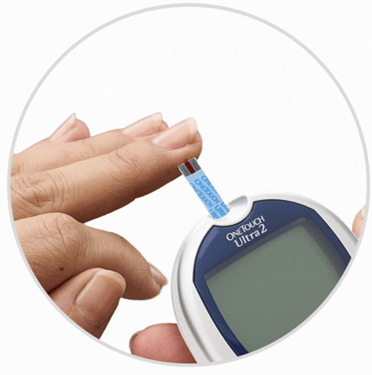
Before you check your blood sugar, let’s get everything ready.
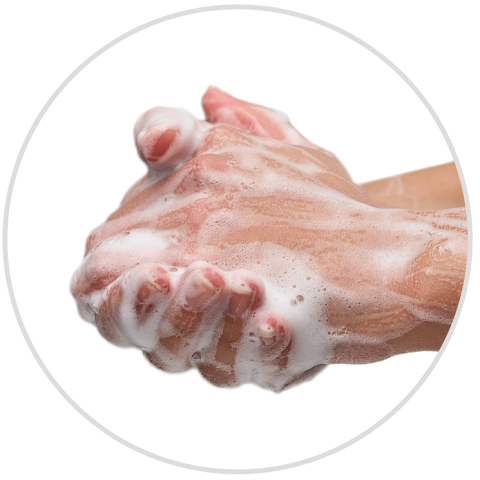


Want more details? Refer to the Owner’s Booklet that came with your meter or click to read here.
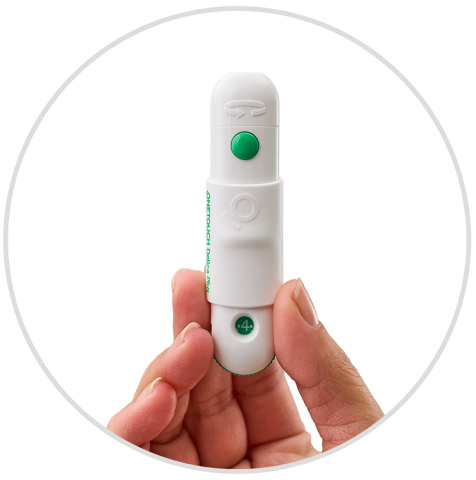
Before checking your blood sugar, read the steps below.

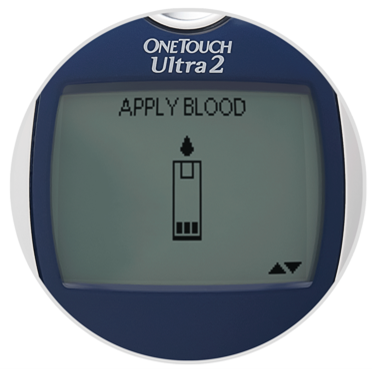


Want more details? Refer to the Owner’s Booklet that came with your meter or click to read here.
This step is recommended.
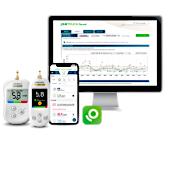
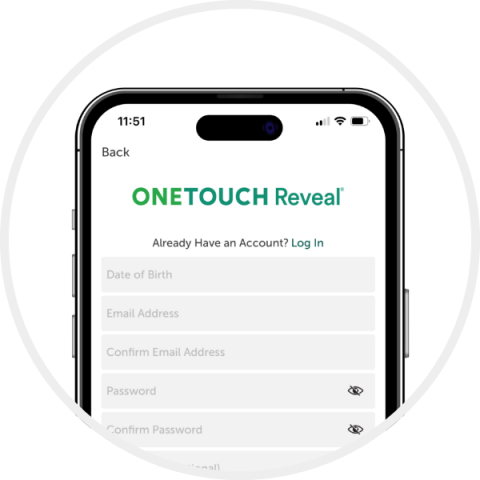
Download OneTouch Reveal® and create an account
Follow the steps below to see how to download the OneTouch Reveal® app and create your account
Want more details? To read more detailed instructions, click below.
Apple Smartphone
How to install the app
How to create your account
Android Smartphone
How to install the app
How to create your account
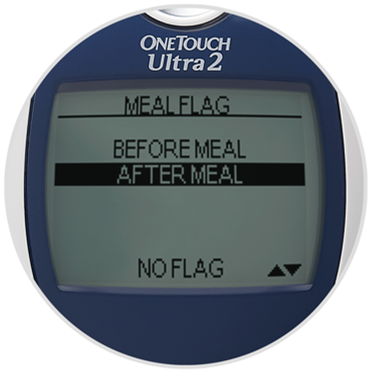
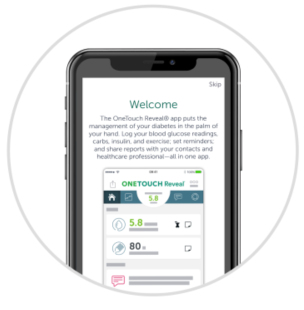
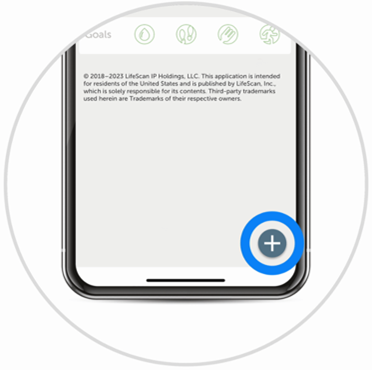
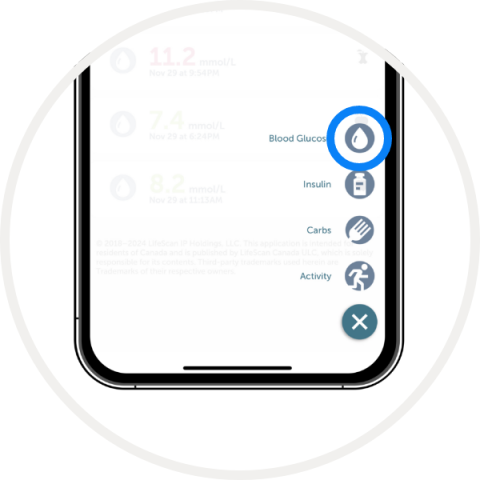
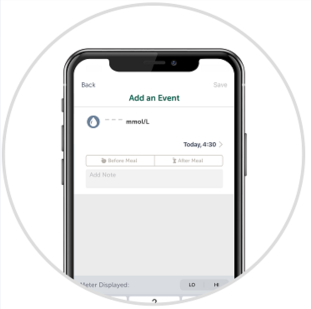
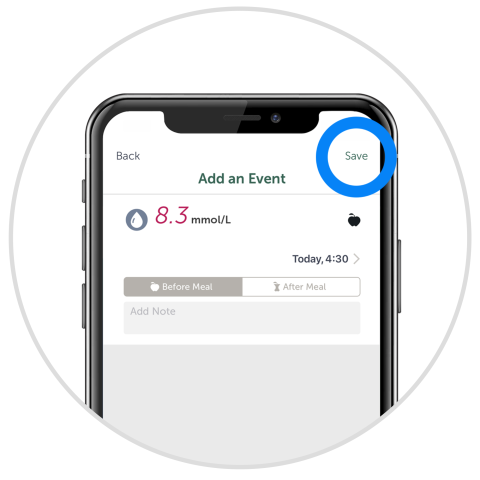
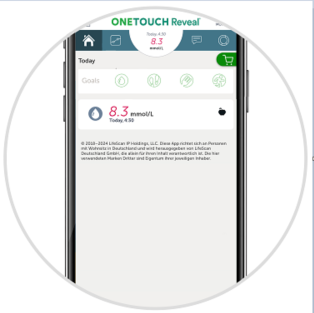
Once you download the OneTouch Reveal® app, you can begin to record your results and other relevant information, like before/after meals and other important notes. This allows the app to give you personalized insights.
Sign up for OneTouch® newsletters to get product updates, tips, education and inspiration for managing your diabetes. Delivered to your inbox, without overloading it.

Still looking for answers?
Get support via Live Chat during business hours and 24/7 through our support site to find answers to commonly asked questions and helpful articles.
CA-OU2-2400002